"We need a landing page for this campaign, but an agency takes weeks and real budget." "I'd build it myself, but I can't design or code." Landing pages are one of the deliverables where AI agents show their value most clearly.
This article walks through an end-to-end workflow for building an LP with AI agents — plan → design → implement → publish. The content is based on the LP/website production module of our corporate training and online course.
What you will learn
- What a landing page is and why building one with AI makes sense
- The full AI LP workflow in 5 steps
- Messaging first: interviews, personas, and copy with AI
- Information design with wireframes
- Design creation and conversion to HTML/Tailwind CSS
- Publishing to the world with Vercel
- A staged learning path and pitfalls to avoid
What is a landing page, and why build it with AI?
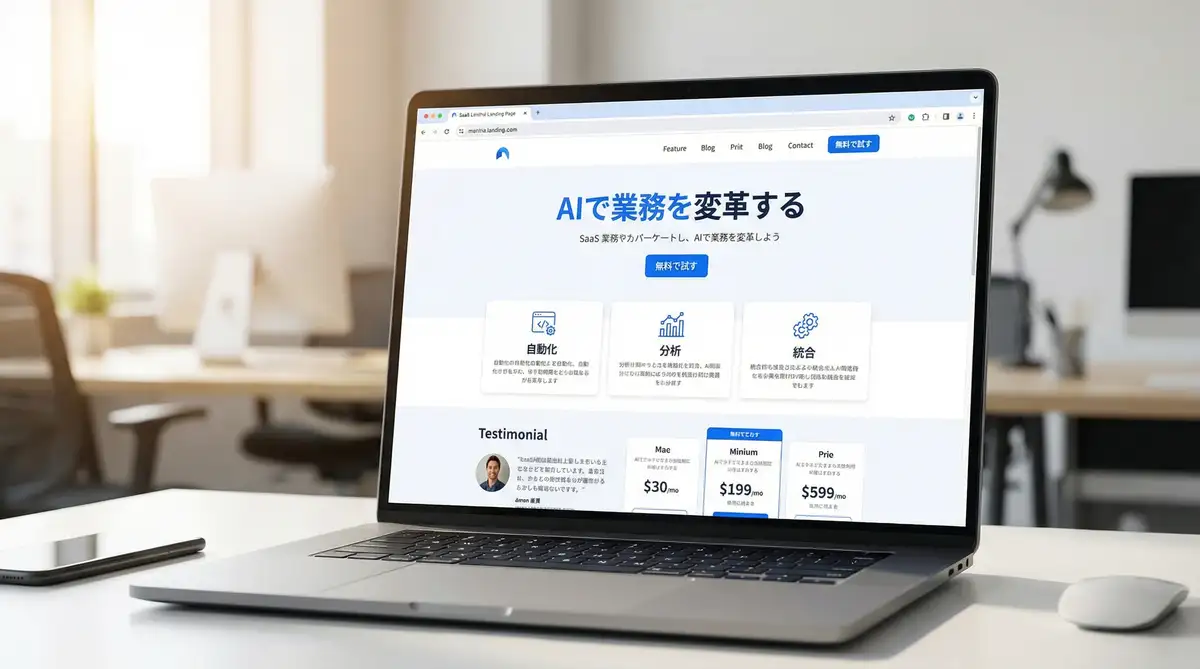
A landing page (LP) is a single-purpose web page built for one specific goal — selling a product, collecting sign-ups, capturing leads. Everything on the page exists to drive one visitor action.
The case for building with AI is simple: without hiring a designer or engineer, you can go from idea to published page the same day. Our course targets cutting production time to one-tenth of the traditional process. Since the iron rule of LPs is "ship it, measure the response, improve," the speed of building in hours translates directly into more experiments.
The full workflow: 5 steps
| Step | What you do | Deliverable |
|---|---|---|
| 1. Messaging | Interview, persona definition, copy generation | Messaging brief |
| 2. Wireframe | Section structure and element layout | ASCII/visual wireframe |
| 3. Design | Professional-quality visuals in a design tool | Design file |
| 4. Implementation | Conversion to HTML/Tailwind CSS/JS | Working LP |
| 5. Deploy | Vercel preview → production | Public URL |
The key principle: delay coding as long as possible. Lock the messaging and structure in words and diagrams first, get human review, and only then move to code — rework drops dramatically.
Step 1: Messaging — don't let AI build right away
The most important LP decision is "who are we convincing, of what, and how." Instead of telling the agent "build me an LP," start with a structured discovery interview — run in reverse:
- Have the AI interview you: service name, target audience (age/role), the problem you solve, and what differentiates you from competitors
- From the answers, have it produce a persona definition and a benefits list
- Generate multiple headline (hero copy) options — e.g., three — and let a human choose
Flipping the conversation so the AI asks and the human answers removes ambiguity from the requirements and sharply improves copy quality. For scaling copy production and refinement, see the copywriting techniques in AI Marketing Automation.
Step 2: Wireframe — lock the information design first
Next, design the page's section structure. The classic LP flow:
- Hero (headline + CTA)
- Problem statement
- Solution
- Three key features
- Social proof (case studies)
- CTA (call to action)
- FAQ
Have the AI output this first as an ASCII wireframe (text box notation). Text is fast to revise and share, which makes it ideal for structure review. If needed, render a gray-box visual wireframe with a diagram tool to make alignment easier for non-designers on the team.
Steps 3–4: Design, then HTML/Tailwind implementation
Once the structure is fixed, create the visuals. The course uses Pencil, a canvas-style design tool the AI agent can operate via MCP: the agent generates a design file including brand colors, hero imagery, and CTA buttons, and you iterate by reviewing screenshots. It feels like Figma to use, and it supports automatic conversion from design to HTML/Tailwind CSS.
The implementation step converts the design to HTML + Tailwind CSS + JS:
- Responsive behavior (mobile / tablet / desktop)
- Scroll animations and CTA hover effects
- Interactions like an FAQ accordion
The course setup uses the CDN build of Tailwind CSS, so there's no npm install or build tooling — you can verify everything by simply opening the file in a browser.
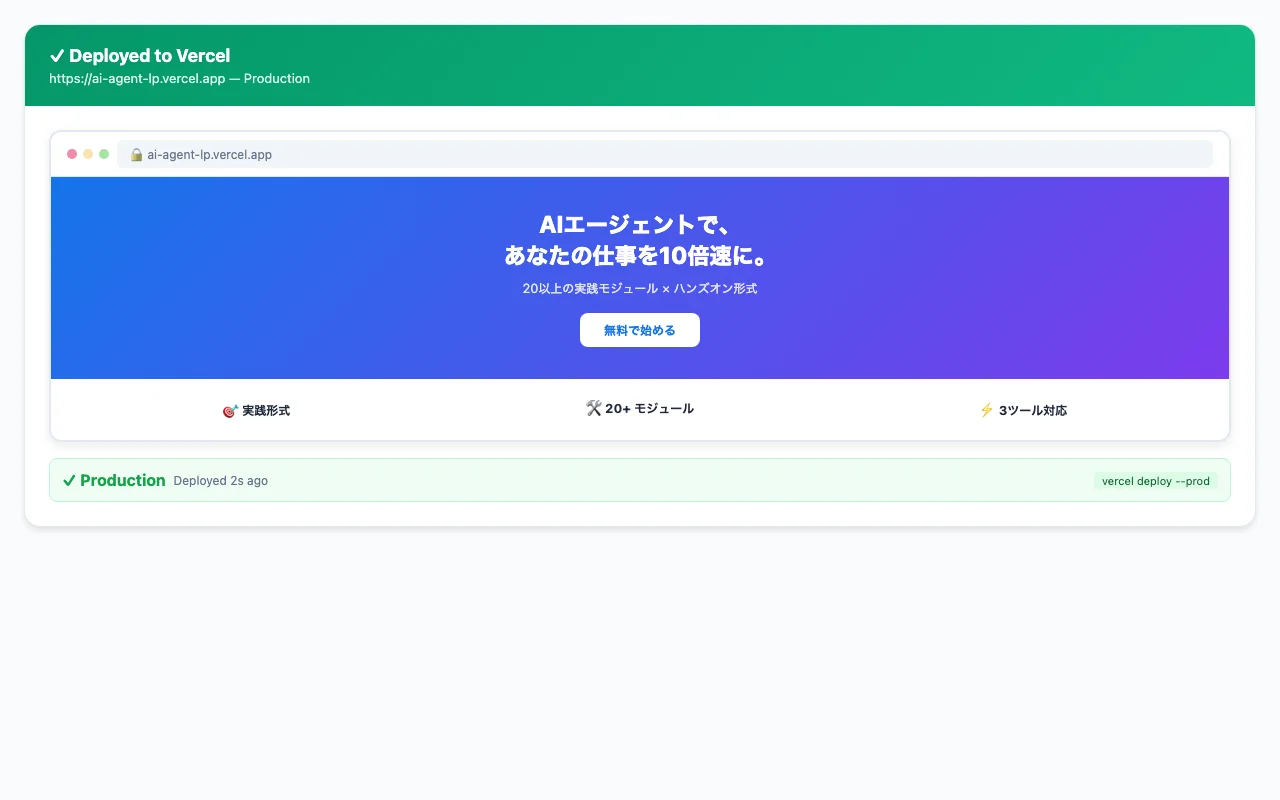
Step 5: Deploy to Vercel — publish to the world
Vercel is a hosting and deployment platform for front-end projects. The course uses it for three reasons:
- Preview URLs — share changes instantly in the browser
- CDN delivery — fast serving of static content
- Git integration — supports automated deployments
Publishing takes a few terminal commands:
- Install the Vercel CLI (e.g.,
npm i -g vercel; requires Node.js 18+) - Authenticate once with
vercel login - Run
vercelin the project folder → a preview URL is issued - Review it, then publish to production with
vercel --prod - Optionally configure a custom domain
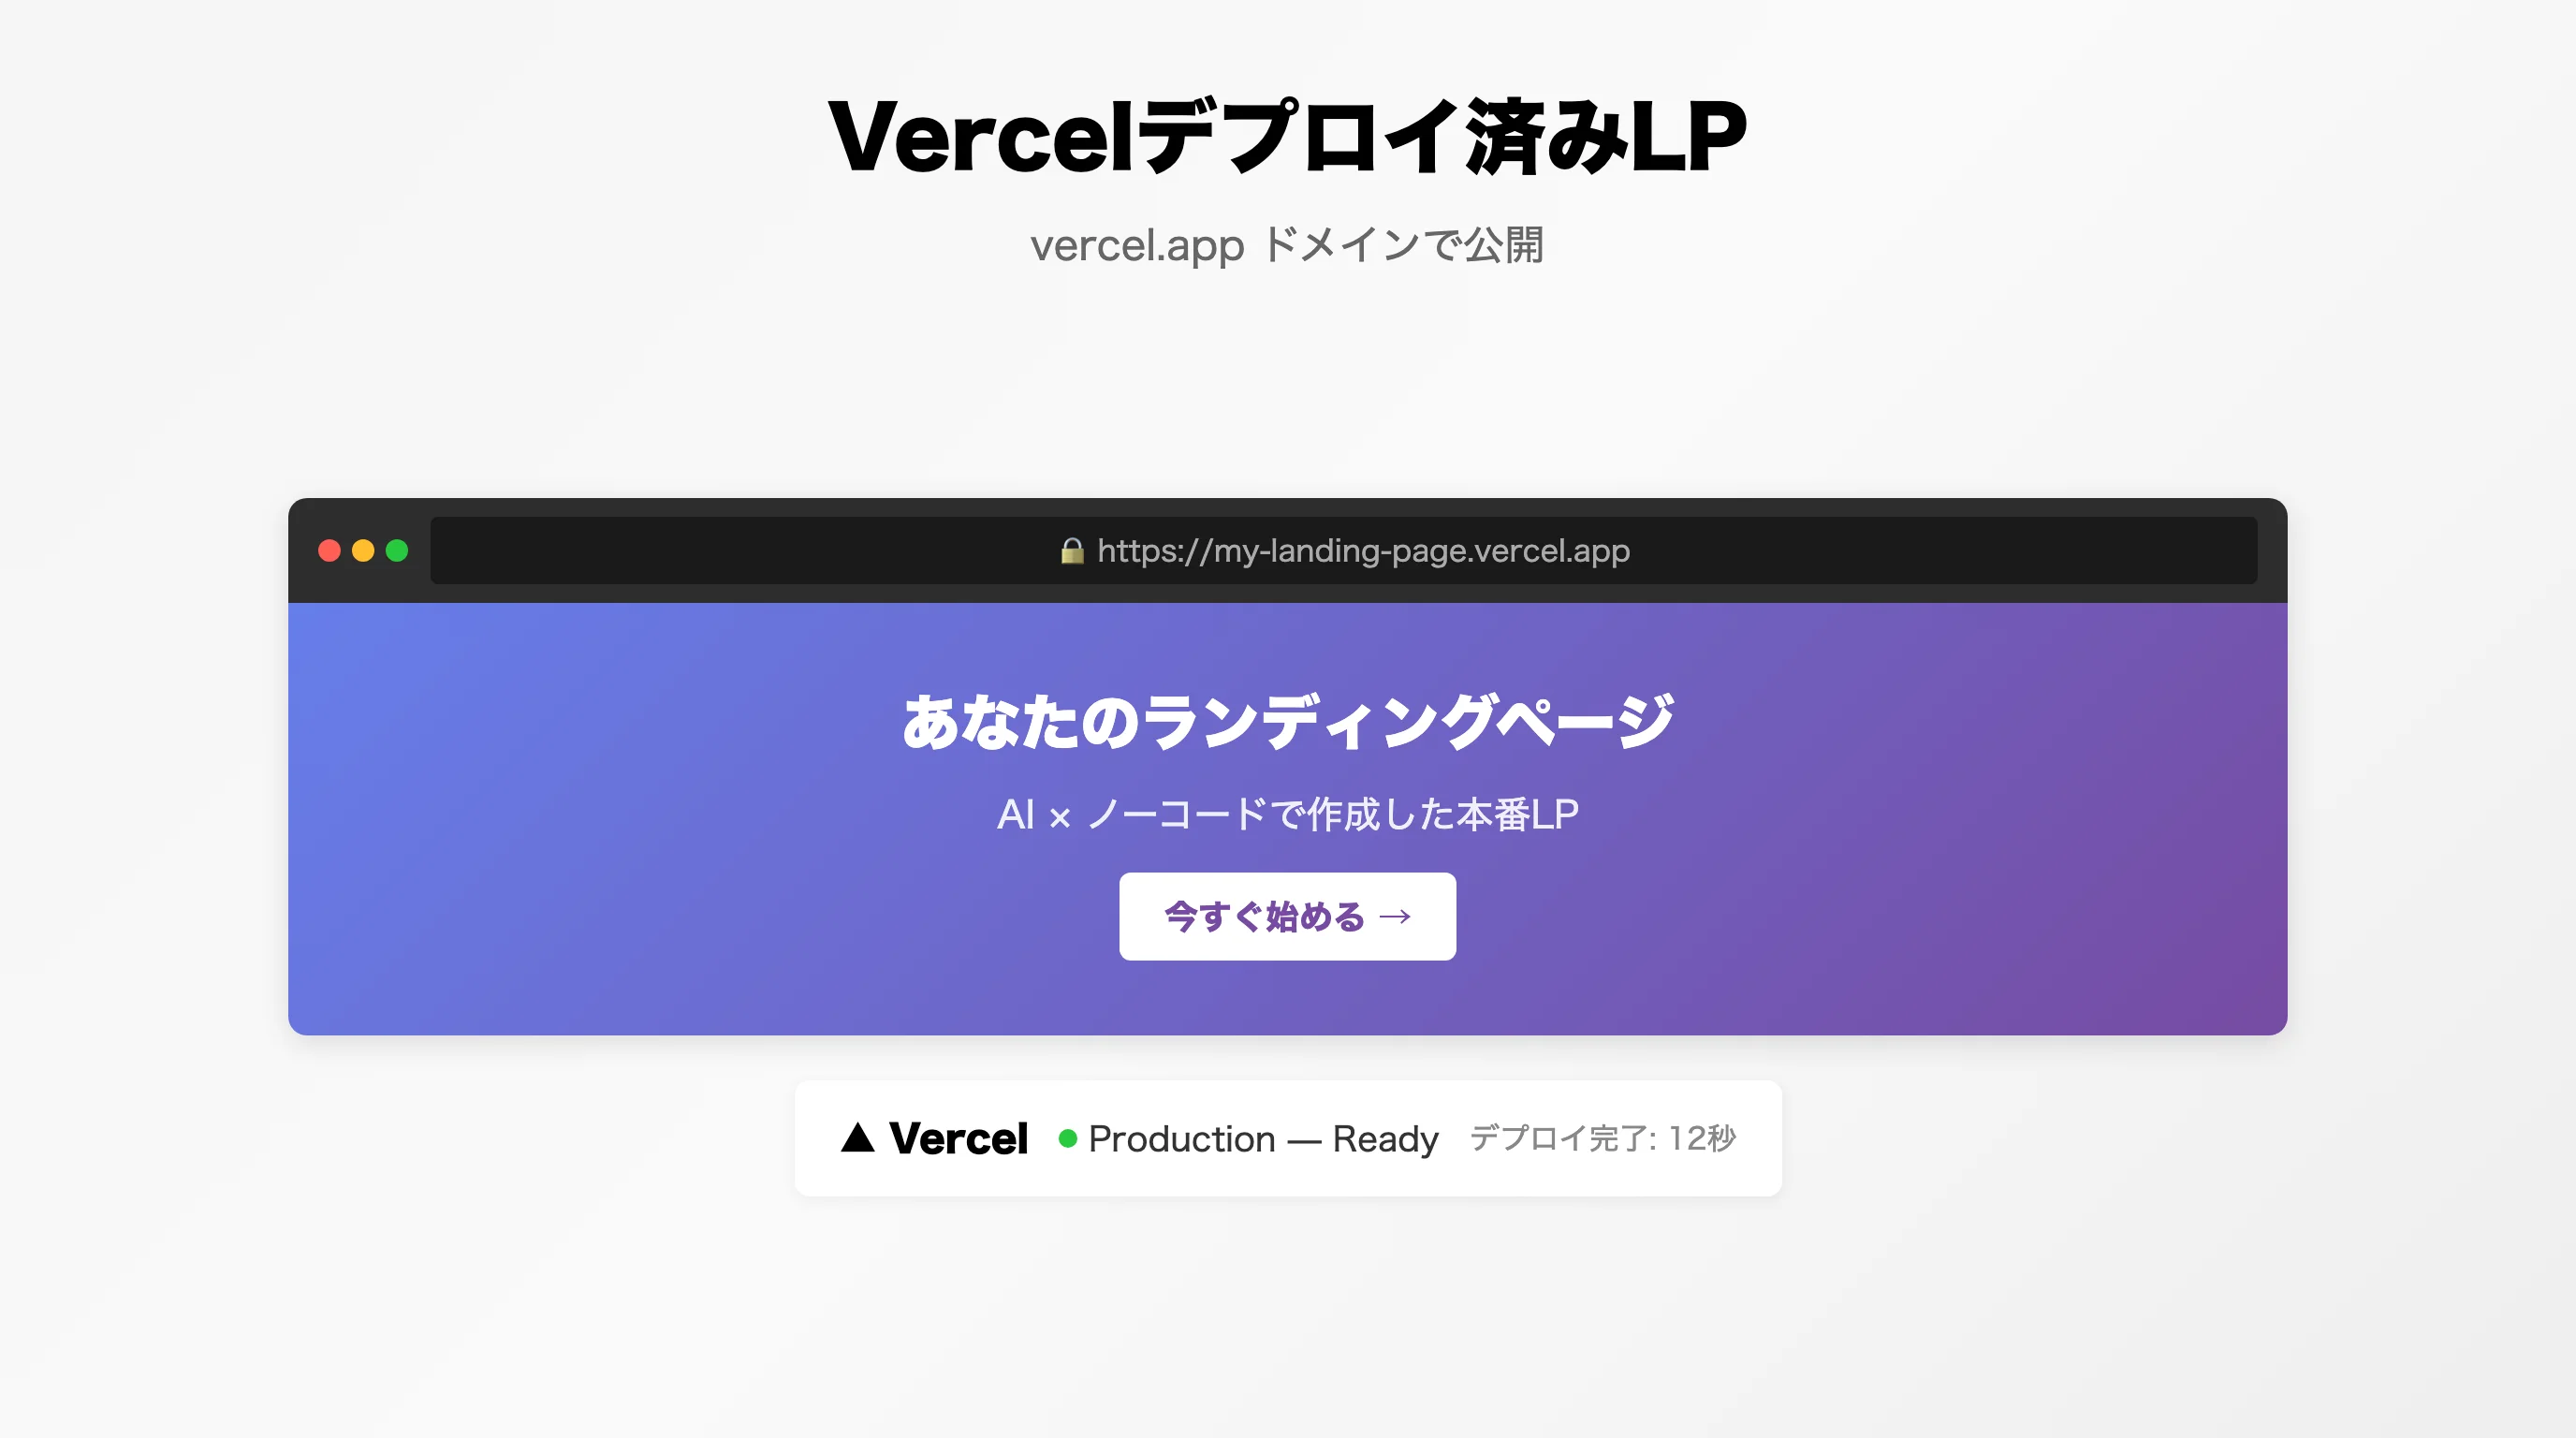
Vercel's free plan is enough to start and requires no credit card. The two-stage "preview, then production" flow also prevents publishing accidents.
A staged learning path
Rather than jumping into the full workflow, the course builds skill in three stages.
| Stage | Content | Technology |
|---|---|---|
| Stage 1: Text-based LP | Interview → ASCII wireframe → direct HTML/CSS generation | HTML/CSS only |
| Stage 2: Multi-page site | Navigation, multi-section layout, responsive design | Multi-section structure |
| Stage 3: Design + deploy | Pro-quality design → code conversion → publish | Pencil + Vercel |
Start with Stage 1 to experience "a page taking shape through conversation with AI," then layer on design quality and the publishing flow.
Pitfalls to avoid
- Design file handling — Pencil's .pen files are encrypted and can't be opened in a text editor; operate them through the dedicated tools
- Don't skip the interview — handing AI a vague brief produces a plausible-looking page that doesn't convert. For sharpening instructions, see Prompt Engineering: A Practical Guide
- Publishing is the start, not the finish — the real work is measuring response and iterating after launch
Frequently asked questions
Q. Can I build a landing page without design or coding experience? A. Yes. The AI agent handles messaging, wireframing, design, HTML/Tailwind implementation, and deployment, while you answer discovery questions and review each stage. What's required isn't coding skill — it's being able to articulate your service's strengths in words.
Q. How long does it take to publish an LP? A. The course's full workflow — messaging, wireframe, design, implementation, deploy — is structured as roughly 120 minutes. A simple text-based LP comes together even faster. Compressing what used to take weeks of outsourcing into less than a day is the core advantage.
Q. Does hosting cost anything? A. You can start on Vercel's free plan with no credit card required. Preview URLs, production publishing, and CDN delivery are all covered by the free tier. A custom domain costs extra only for the domain registration itself.
Q. What should I tell the AI first? A. The trick is to make the AI ask you. Have it interview you on the service name, target audience, the problem you solve, and your differentiation, then build a persona definition and hero copy options from the answers. Locking the messaging brief first stabilizes the quality of every later step.
Q. How do I drive traffic to the page once it's live? A. Publication is the starting point — pair it with social posting, SEO, and email campaigns. For generating social posts, running SEO audits, and setting up email drip campaigns with AI, see the AI Marketing Automation guide in the related articles.
Related articles
- AI Marketing Automation: Social Posts, SEO Audits, Copy & Email
- Prompt Engineering: A Practical Guide for the AI Agent Era
- Running AI Agents on a Schedule with GitHub Actions
- The Complete Guide to AI Agents for Business
- Corporate AI Agent Training (Hands-on)
Related services
Ready to put AI agents to work?
Turn what you just read into real workflows. AI Agent Camp helps non-technical professionals go from using to building — hands-on.
Last reviewed: 2026-06-10